The Real HVAC Tune-Up Checklist: 12 Things a Pro Actually Checks (and 5 You Can DIY)
A real HVAC tune-up runs 60-90 minutes across 12+ checkpoints. Here's the full pro checklist, what you can DIY, and how often for Inland Empire homes.

Owner & Lead HVAC Technician, Alex Air & Heating · EPA 608 Universal Certified · Ontario, CA

TL;DR
A real HVAC tune-up runs 60-90 minutes across 12+ checkpoints: coils, refrigerant pressures, capacitor microfarads, electrical connections, drain line, blower, safety controls, and thermostat calibration. Homeowners can safely handle five tasks-filter, condenser clearance, hosing coils, drain flush, and thermostat batteries-while refrigerant, electrical, and capacitor work belong to a licensed pro. The DOE says a clean filter alone cuts energy use 5-15%.
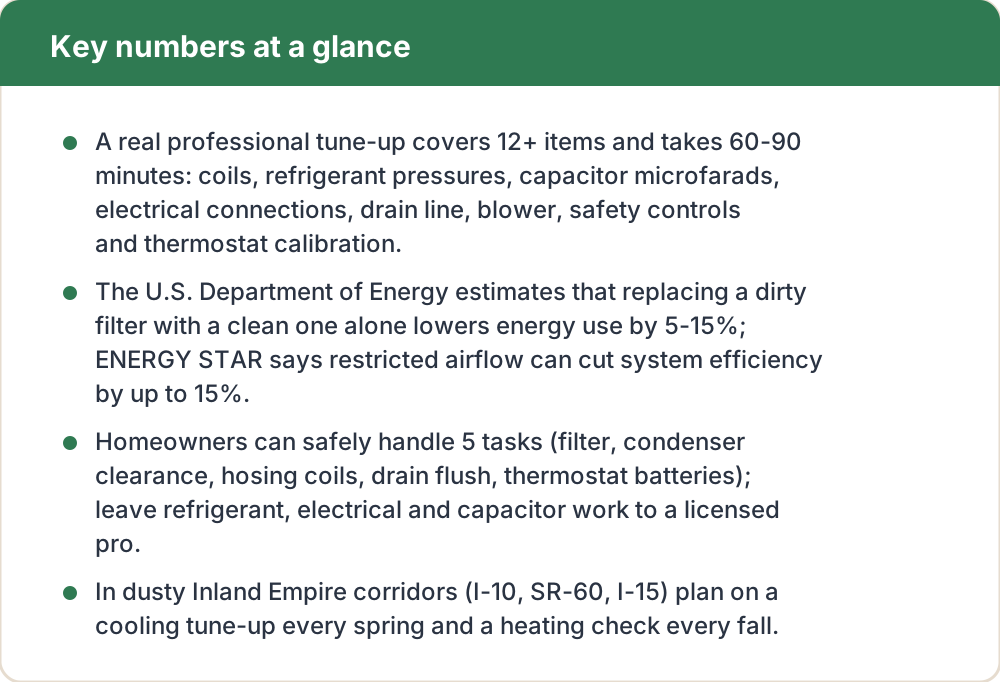
- A real professional tune-up covers 12+ items and takes 60-90 minutes: coils, refrigerant pressures, capacitor microfarads, electrical connections, drain line, blower, safety controls and thermostat calibration.
- The U.S. Department of Energy estimates that replacing a dirty filter with a clean one alone lowers energy use by 5-15%; ENERGY STAR says restricted airflow can cut system efficiency by up to 15%.
- Homeowners can safely handle 5 tasks (filter, condenser clearance, hosing coils, drain flush, thermostat batteries); leave refrigerant, electrical and capacitor work to a licensed pro.
- In dusty Inland Empire corridors (I-10, SR-60, I-15) plan on a cooling tune-up every spring and a heating check every fall.
On this page
- What does a real HVAC tune-up actually include?
- Coils: why dirty coils are the #1 silent efficiency killer
- Refrigerant and pressures: what the gauges tell a technician
- Electrical and the capacitor: the parts that fail in a heatwave
- Drain line, blower and safety controls
- Thermostat, filter and temperature split
- What you can DIY vs. what needs a licensed pro
- How often should Inland Empire homes get a tune-up?
What does a real HVAC tune-up actually include?
A legitimate tune-up is a 60-90 minute inspection and cleaning of the whole system, not a 15-minute filter swap. A qualified technician measures how the equipment is performing (pressures, amp draw, temperature split, capacitor value) and corrects small problems before they become July breakdowns. ENERGY STAR's own maintenance guidance lists coil cleaning, refrigerant-charge verification, blower adjustment, electrical checks and thermostat calibration as the core of pre-season service.
The reason this matters here is airflow and dust. ENERGY STAR notes that airflow problems can reduce a system's efficiency by up to 15 percent, and the U.S. Department of Energy estimates that simply replacing a clogged filter with a clean one can lower energy consumption 5 to 15 percent. In a region that runs its AC hard from May through October, that is real money and real reliability.
Coils: why dirty coils are the #1 silent efficiency killer
Your system has two coils. The outdoor condenser coil dumps heat outside; the indoor evaporator coil absorbs heat from your air. When either is coated in dust, cottonwood fluff, or the fine grit that blows off Inland Empire freeways and warehouse lots, heat transfer drops and the compressor runs longer and hotter to hit your thermostat setting.
A pro rinses the condenser coil, straightens bent aluminum fins with a fin comb, and inspects the evaporator coil for buildup and biofilm. Clean coils restore cooling capacity, shorten run times, and take load off the compressor, the single most expensive part in the system.
| Checkpoint | DIY or Pro | How often | Why it matters |
|---|---|---|---|
| Air filter | DIY | Monthly to every 3 months | Dirty filter cuts energy use 5-15% (DOE) and starves airflow |
| Condenser coil (outdoor) | DIY rinse / Pro deep-clean | Spring; rinse monthly in dust | Restores heat transfer and cooling capacity |
| Evaporator coil (indoor) | Pro | Annually | Dirty coil raises run time and energy bills |
| Refrigerant pressures / charge | Pro | Annually | Wrong charge wastes energy, shortens compressor life |
| Capacitor microfarads | Pro | Annually | Top summer failure; weak cap kills the compressor |
| Electrical connections | Pro | Annually | Loose lugs are a fire and breakdown risk |
| Condensate drain line | DIY flush / Pro | Spring | Clog causes shutoff or water damage |
| Blower wheel and motor | Pro | Annually | Dust unbalances the fan and cuts airflow |
| Safety controls | Pro | Annually | Protects the compressor from catastrophic failure |
| Thermostat calibration | DIY test / Pro | Spring and fall | Accurate cycling saves energy and comfort |
Refrigerant and pressures: what the gauges tell a technician
Refrigerant does not get 'used up'; if the charge is low, the system has a leak. A technician connects gauges to read low-side and high-side pressures, then calculates superheat and subcooling to confirm the charge is exactly right for the conditions. Both undercharge and overcharge waste energy and shorten equipment life, which is why an honest tech verifies with numbers rather than just 'topping off.'
They also inspect the copper line set, its insulation, and look for oily residue that signals a leak. Note that older R-410A systems are still fully serviceable, but new equipment sold in 2025 and later uses lower-GWP refrigerants such as R-454B or R-32 under the EPA AIM Act phasedown, worth knowing if you are weighing repair versus replacement.
Electrical and the capacitor: the parts that fail in a heatwave
Heat is hard on electrical parts, and the Inland Empire delivers plenty of it. The capacitor, a cylinder that gives the compressor and fan motor their starting jolt, is one of the most common summer failures. A technician measures its actual microfarad value and replaces it if it has drifted more than roughly 5-10 percent below its rating, before it strands you on a 105-degree afternoon.
The tech also tightens electrical connections (heat cycling loosens them over time), inspects the contactor for pitting or burning, and measures the amp draw of the motors and compressor against spec. Loose or corroded connections are a fire and failure risk that a five-minute check catches.
- Capacitor microfarad reading vs. nameplate rating
- Contactor condition (pitting, burning)
- Tighten all electrical lugs and connections
- Motor and compressor amp draw vs. specification
Drain line, blower and safety controls
As your AC cools, it pulls humidity out of the air, and that water exits through a condensate drain line. When algae or dust clogs it, water backs up and can trip a float switch (shutting the system off) or overflow onto a ceiling. A pro clears and flushes the line and checks the pan.
The blower wheel and motor move the air; caked dust on the blades throws the fan out of balance and starves airflow. Finally, the technician verifies safety controls, high- and low-pressure switches, limit switches, and float switches, so the system shuts itself down safely instead of destroying a compressor if something goes wrong.
Thermostat, filter and temperature split
The tech confirms the thermostat is reading accurately and switching the system on and off correctly, and often measures the temperature split, the difference between return-air and supply-air temperature, which should typically land around 16-22 degrees on a properly charged, clean system. A weak split points to airflow or charge problems.
They will also change or check the filter. ENERGY STAR recommends inspecting the filter monthly and changing it at least every three months; in dusty IE homes with pets or during Santa Ana wind events, monthly replacement is often the right call.
What you can DIY vs. what needs a licensed pro
Some maintenance is genuinely homeowner-friendly and worth doing between visits. Other tasks involve refrigerant, high-voltage electrical, or stored energy in the capacitor, and legally and safely belong to a licensed contractor. In California, handling refrigerant requires EPA Section 608 certification, and larger work requires a CSLB-licensed contractor.
A good rule: if it needs gauges, a multimeter, or opening the electrical panel, call a pro. If it is a filter, a garden hose, or a thermostat battery, you can do it yourself.
- DIY: replace filter, keep 2 ft clearance around the condenser, gently hose the outdoor coil, flush the drain line, replace thermostat batteries
- PRO: refrigerant/pressure checks, capacitor and electrical testing, coil deep-cleaning, blower balancing, safety-control verification
How often should Inland Empire homes get a tune-up?
The standard is twice a year: a cooling tune-up in spring (ideally March-April, before the first heatwave and the busy season) and a heating check in fall. The American Lung Association has ranked the Riverside-San Bernardino-Ontario metro the worst in the nation for ozone (smog) pollution for more than two decades, and the same freeway and warehouse dust that fouls the air also loads up your coils and filters faster than in cleaner regions. Here, spring service is not optional, it is what keeps the system alive through a brutal summer.
Frequently asked questions
About 60 to 90 minutes for a single system. If a technician is in and out in 15 minutes, you got a filter change and a sales pitch, not a tune-up. A proper visit includes measuring refrigerant pressures, testing the capacitor, cleaning coils, and checking electrical and safety controls.
No. Filter changes help airflow, but only a pro can measure refrigerant charge, test the capacitor and electrical connections, and catch a small refrigerant leak or a failing part before it becomes a mid-summer breakdown. Think of DIY tasks as maintenance between professional visits, not a replacement for them.
Standalone tune-ups commonly run in the low hundreds of dollars, and many homeowners bundle them into an annual maintenance plan. Given that clean airflow and correct charge can each save up to 15% on cooling energy, and that many manufacturer warranties require documented annual service, a yearly tune-up usually pays for itself.
Book the cooling tune-up in March or April, before the first heatwave and before contractors are slammed with breakdown calls. Schedule the heating check in the fall. Twice a year is the standard, and it matters more here because freeway and warehouse dust loads coils and filters quickly.
Local next step
Turn this guide into a site-specific answer.
Guides explain the decision. Equipment condition, access, and safe next steps still need to match the home or business. Review the relevant service scope or request an assessment for Ontario, the Inland Empire, or East Los Angeles County. Availability depends on the current schedule.