Spring AC Prep: The 8-Step Checklist to Beat the First Inland Empire Heatwave
Do these 8 steps in March-April, before triple-digit heat hits Ontario and Pomona. Clean airflow and correct charge can each save up to 15% on cooling energy.

Owner & Lead HVAC Technician, Alex Air & Heating · EPA 608 Universal Certified · Ontario, CA
TL;DR
Do your spring AC tune-up in March or April, before triple-digit heat hits Ontario and Pomona and before contractors get slammed with breakdown calls. Five of the eight steps are DIY-filter, condenser clearance, drain line, thermostat, and vents-while three need a pro. A clean filter saves 5-15% on energy (DOE) and correct airflow another 15% (ENERGY STAR); confirm a healthy 16-22 degree F temperature split before the heat arrives.
- Prep your AC in March or April, before the first heatwave and before contractors get slammed with breakdown calls.
- Five of the eight steps are DIY (filter, condenser clearance, drain line, thermostat, vents); three need attention to detail or a pro (coil rinse, refrigerant/cooling check, professional tune-up).
- A clean filter can save 5-15% on energy (DOE) and correct airflow can save up to another 15% (ENERGY STAR), the difference between a system that coasts through summer and one that quits in July.
- Keep at least 2 feet of clearance around the outdoor condenser and confirm a healthy 16-22 degree temperature split before the heat arrives.
On this page
- Why spring prep matters more in the Inland Empire
- Step 1-2: Replace the filter and clear the condenser
- Step 3-4: Rinse the coil and flush the drain line
- Step 5: Test the thermostat before you rely on it
- Step 6: The refrigerant and cooling check (call a pro)
- Step 7: Seal the cool air in and check the vents
- Step 8: Schedule the professional tune-up early
Why spring prep matters more in the Inland Empire
In Ontario, Pomona, Diamond Bar and the surrounding valleys, summer is not gentle: multiple stretches of triple-digit heat, months of AC running nearly nonstop, and some of the dirtiest air in the country. The American Lung Association has ranked the Riverside-San Bernardino-Ontario metro the nation's worst for ozone pollution for more than two decades, and the freeway and warehouse dust that fouls that air also coats your coils and clogs your filter faster than in cleaner regions.
The goal of spring prep is simple: find and fix the small problems, a weak capacitor, a low charge, a clogged drain, a dirty coil, in April, when a technician can get to you quickly, instead of during the first 105-degree week when everyone's system is failing at once. Correct airflow and charge each save up to 15 percent on cooling energy, so this is about both reliability and your summer bills.
Step 1-2: Replace the filter and clear the condenser
Start with the cheapest, highest-impact task: a fresh filter. The U.S. Department of Energy estimates that swapping a clogged filter for a clean one lowers energy use 5-15 percent. Match the size and thickness exactly and mind the airflow arrow.
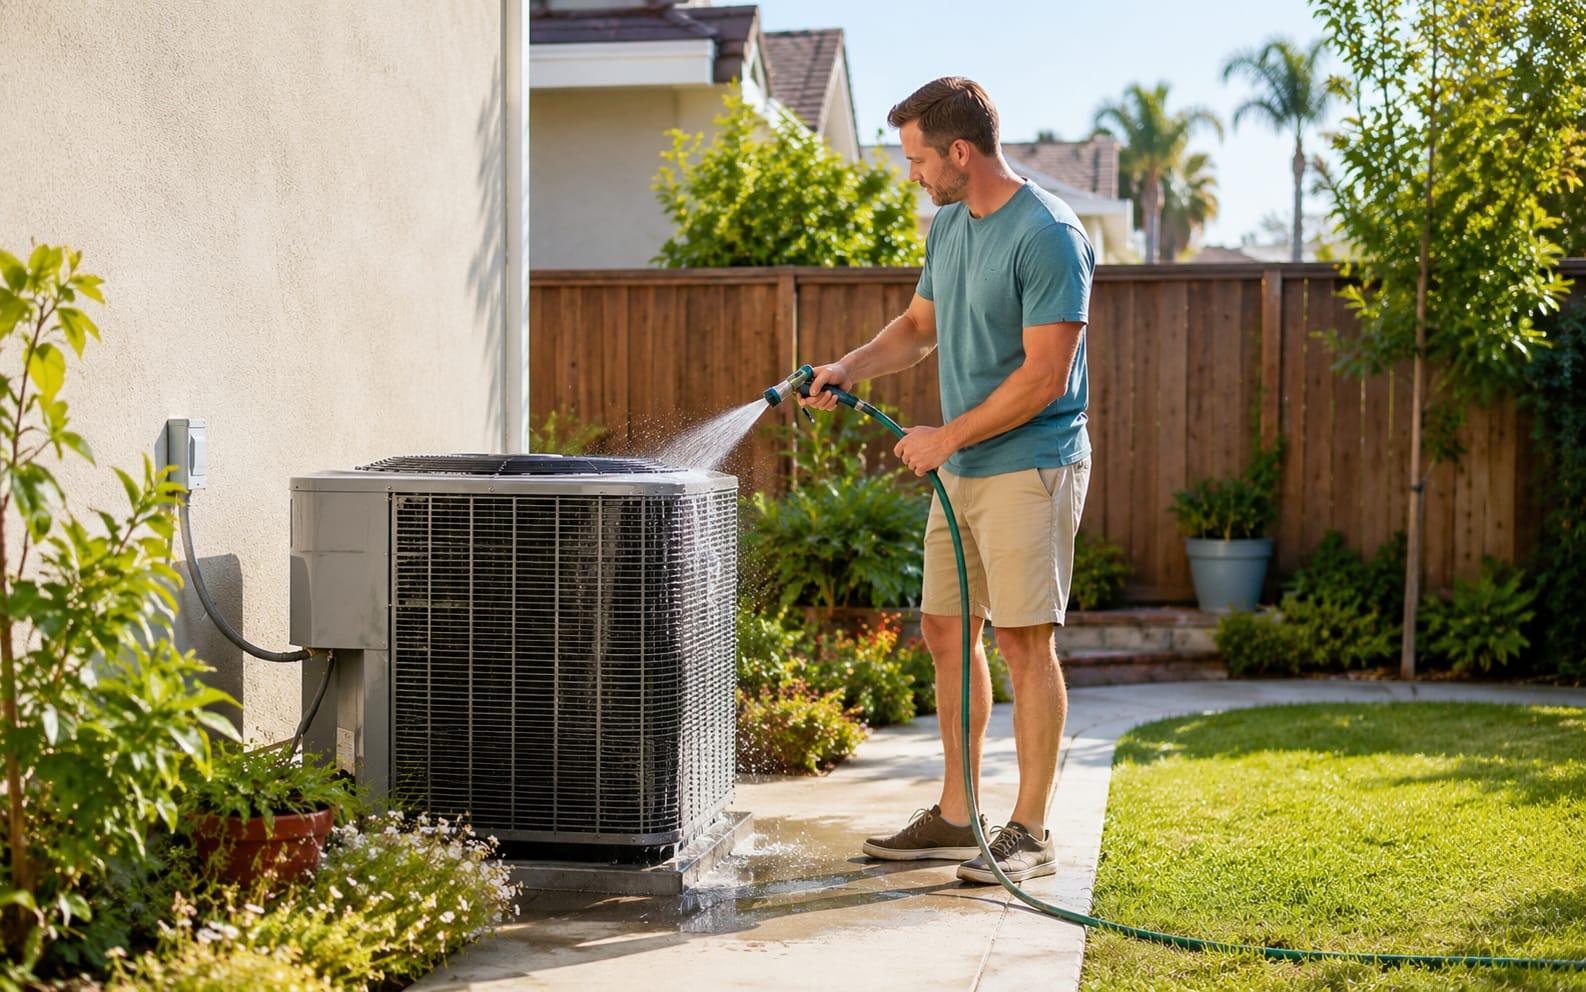
Next, walk out to the outdoor condenser. Cut power at the disconnect, then pull weeds, rake out leaves and trash, and cut back any shrubs so you have at least 2 feet of clearance on every side. The unit rejects your home's heat into the outdoor air, and anything crowding it traps that heat and drags down efficiency.
| Step | Task | DIY or Pro | Time |
|---|---|---|---|
| 1 | Replace the air filter | DIY | 5 min |
| 2 | Clear 2 ft around the condenser | DIY | 15-20 min |
| 3 | Rinse the outdoor coil (hose only) | DIY | 15 min |
| 4 | Flush the condensate drain line | DIY | 10 min |
| 5 | Test the thermostat and batteries | DIY | 10 min |
| 6 | Refrigerant charge and cooling check | Pro | Part of tune-up |
| 7 | Check vents, ducts and seals | DIY | 20-30 min |
| 8 | Schedule a professional tune-up | Pro | 60-90 min visit |
Step 3-4: Rinse the coil and flush the drain line
With power still off, gently rinse the outdoor coil with a garden hose to wash off the season's dust; never use a pressure washer, which bends the delicate aluminum fins. A clean condenser coil restores heat transfer and shortens run times, a meaningful gain when the outdoor air is already 100-plus degrees.
Then clear the condensate drain line before the humid, hard-running months. Pour a cup of distilled vinegar into the drain access, or use a wet/dry vac at the outdoor end, to remove algae and slime. A clogged line either trips a safety float switch (no cooling) or overflows and damages ceilings and drywall, both avoidable in five minutes now.
Step 5: Test the thermostat before you rely on it
Switch the thermostat to COOL and set it about 5 degrees below the current room temperature. Cool air should arrive within a couple of minutes. If it does not, or if the system short-cycles, note it for the technician. Replace the batteries in a battery-powered thermostat as annual insurance.
If you have a programmable or smart thermostat, this is the moment to load a summer schedule, letting the house drift warmer while you are out and cooling before you return, so you are not paying to cool an empty home through the hottest hours.
Step 6: The refrigerant and cooling check (call a pro)
This step is where DIY stops. A licensed technician connects gauges to verify the refrigerant charge is correct for the conditions, calculating superheat and subcooling rather than just 'topping off.' A low charge means a leak, which wastes energy and, left alone, can burn out the compressor.
The tech also measures the temperature split across the evaporator coil; a healthy system typically delivers air about 16-22 degrees cooler than the return air. A weak split flags an airflow or charge problem you want fixed before July, not discovered during it. Handling refrigerant legally requires EPA Section 608 certification, so this is genuinely pro-only work.
Step 7: Seal the cool air in and check the vents
Cooling a leaky house in Inland Empire heat is like filling a bucket with a hole in it. Walk the home and confirm supply and return vents are open and unobstructed by furniture or rugs, closing too many registers actually harms airflow rather than saving money.
Check that accessible ductwork in the attic or crawlspace is connected and insulated, and seal obvious gaps around windows and doors with weatherstripping. ENERGY STAR's guidance on sealing and insulating is one of the most cost-effective ways to hold onto the cool air you are paying to produce.
Step 8: Schedule the professional tune-up early
Even a diligent homeowner cannot test a capacitor, tighten electrical connections, deep-clean an evaporator coil, or verify safety controls. Book a licensed technician for a full tune-up in March or April, before the rush. Beyond reliability, many manufacturer warranties require documented annual professional maintenance to stay valid, so keeping the receipt protects your equipment coverage.
Booking early also means you are near the front of the line if a real repair turns up, rather than waiting days in peak season. In a region where the AC is essential survival equipment from May through October, that head start is the whole point of spring prep.
Frequently asked questions
March or April. That is before the first heatwave and before contractors are buried in breakdown calls, so a technician can get to you fast and any needed repair happens before you depend on the system daily. Waiting until the first 100-degree week means longer waits and higher stress on failing parts.
Five of the eight steps: changing the filter, clearing the condenser, hosing the coil, flushing the drain line, and testing the thermostat and vents. The refrigerant and cooling check and the full tune-up need a licensed pro, because refrigerant, capacitor and electrical work require training and, for refrigerant, EPA certification.
Yes. A system can look fine while running low on charge, on a weak capacitor, or with a slowly clogging drain, all of which fail under peak summer load. A tune-up catches these early, and many manufacturer warranties require documented annual maintenance, so skipping it can void coverage.
A healthy system usually delivers supply air about 16-22 degrees cooler than the return air, the temperature split. If your vents feel only slightly cool, the house cannot keep up on hot days, or the system runs constantly, have a technician check the charge and airflow before the heat peaks.
Local next step
Turn this guide into a site-specific answer.
Guides explain the decision. Equipment condition, access, and safe next steps still need to match the home or business. Review the relevant service scope or request an assessment for Ontario, the Inland Empire, or East Los Angeles County. Availability depends on the current schedule.