Where Should a Mini-Split Indoor Unit Be Installed?
The best mini-split indoor-unit location balances airflow, wall strength, line-set and condensate routing, electrical planning, comfort and future service access.

Owner & Lead HVAC Technician, Alex Air & Heating · EPA 608 Universal Certified · Ontario, CA
TL;DR
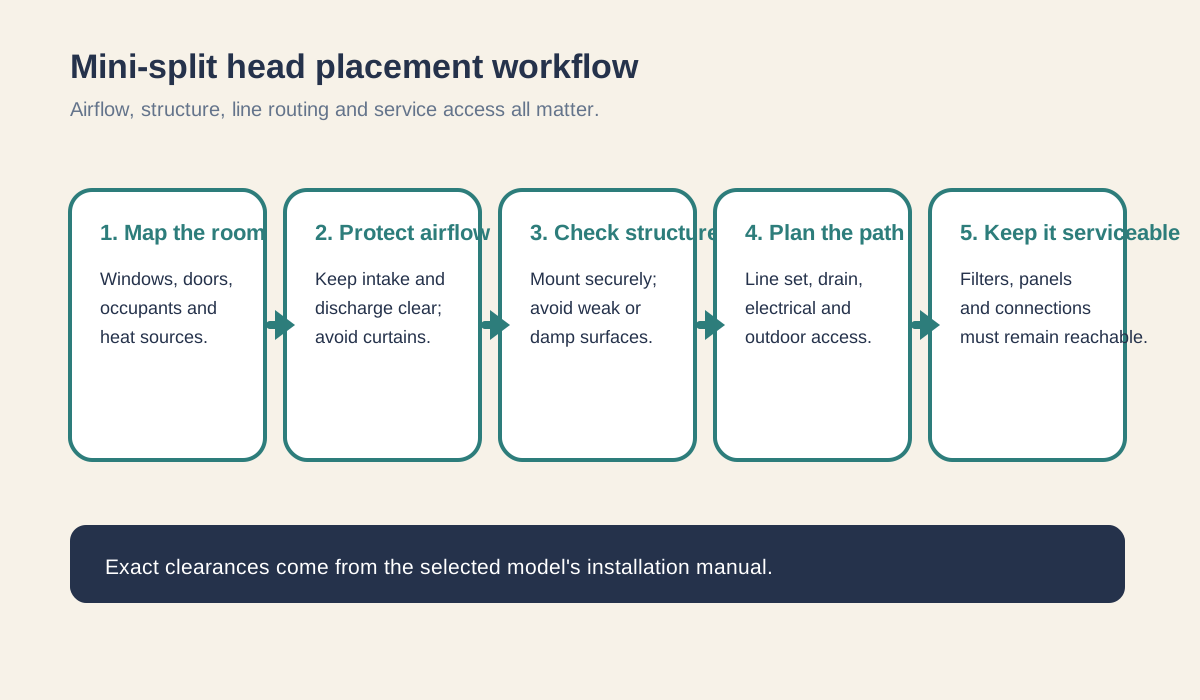
For mini split head placement, choose a location where the selected model’s intake and discharge remain unobstructed, the wall can support it, the drain works by design, and filters and connections stay reachable. Do not copy a universal clearance or height from the internet: exact dimensions come from the model manual and the project’s electrical, structural and code review.
- Airflow is the first placement test: curtains, shelves and soffits can recirculate or block discharge air.
- The wall, bracket, line-set route and condensate path must be considered together before drilling.
- The indoor head should remain reachable for filters, panels, cleaning and future service.
- Exact clearances are model-specific; the installer should use the selected manufacturer manual and written scope.
On this page
- What is the best mini split head placement?
- Start with airflow, not decoration
- Check the wall, ceiling and surrounding clearances
- Do not forget the line set, drain and electrical path
- Keep filters and service panels reachable
- Placement in an ADU, bedroom or living room
- Local GEO: placement still depends on the property
- The short answer: use the model manual and the room
What is the best mini split head placement?
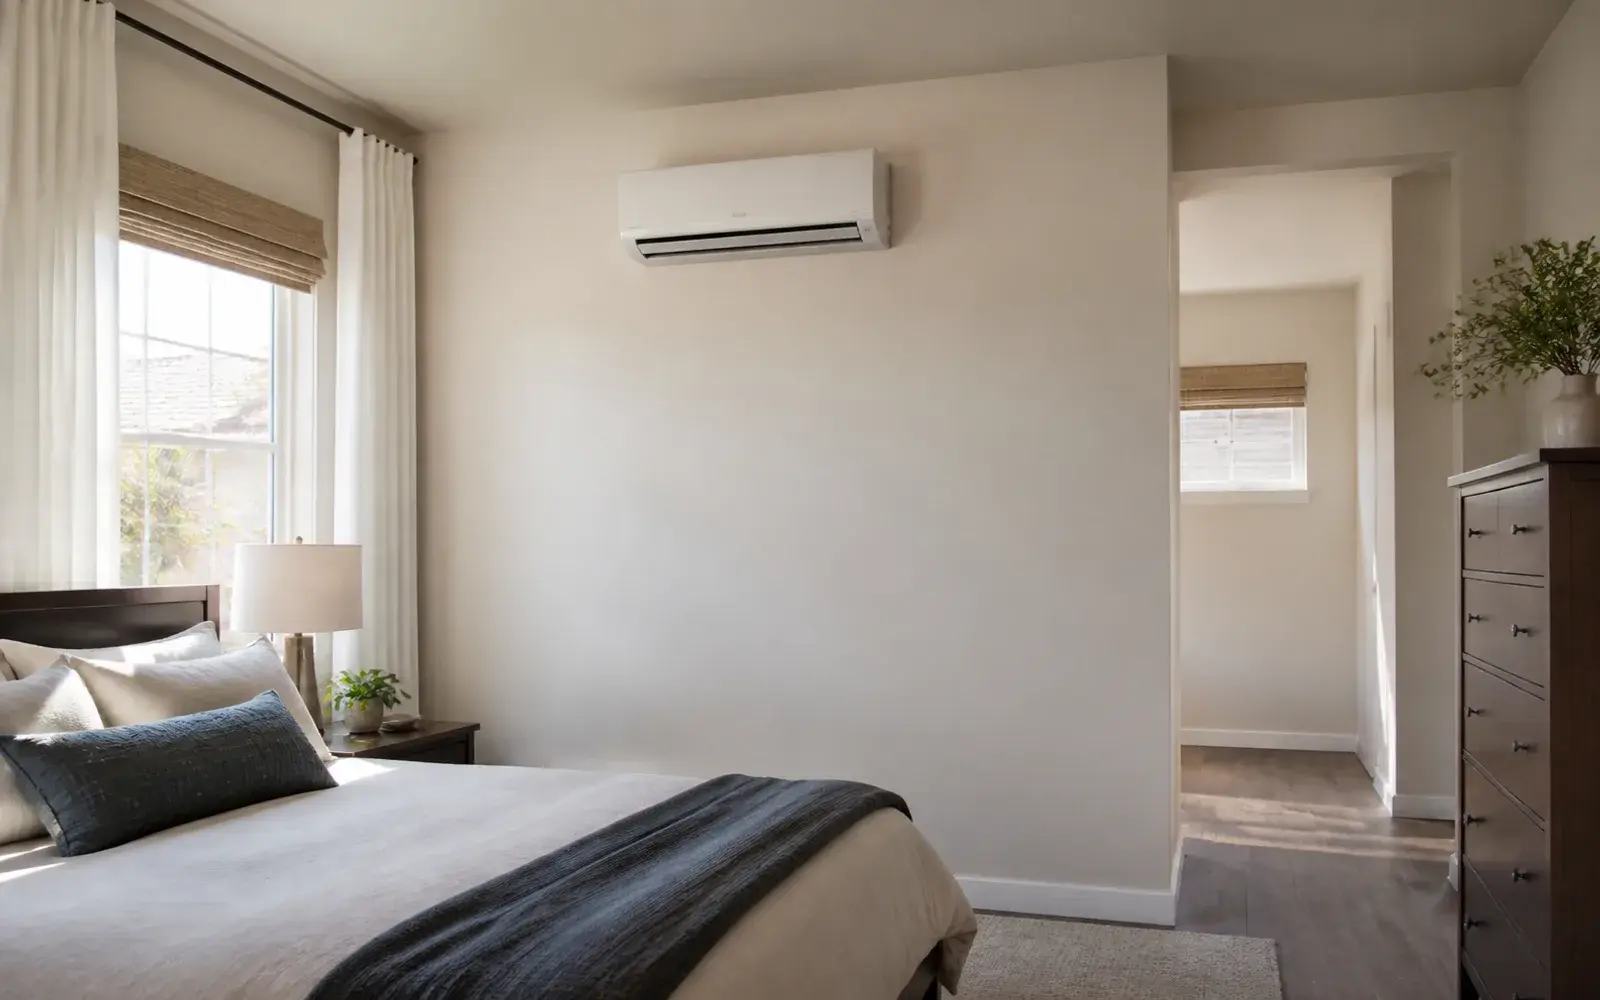
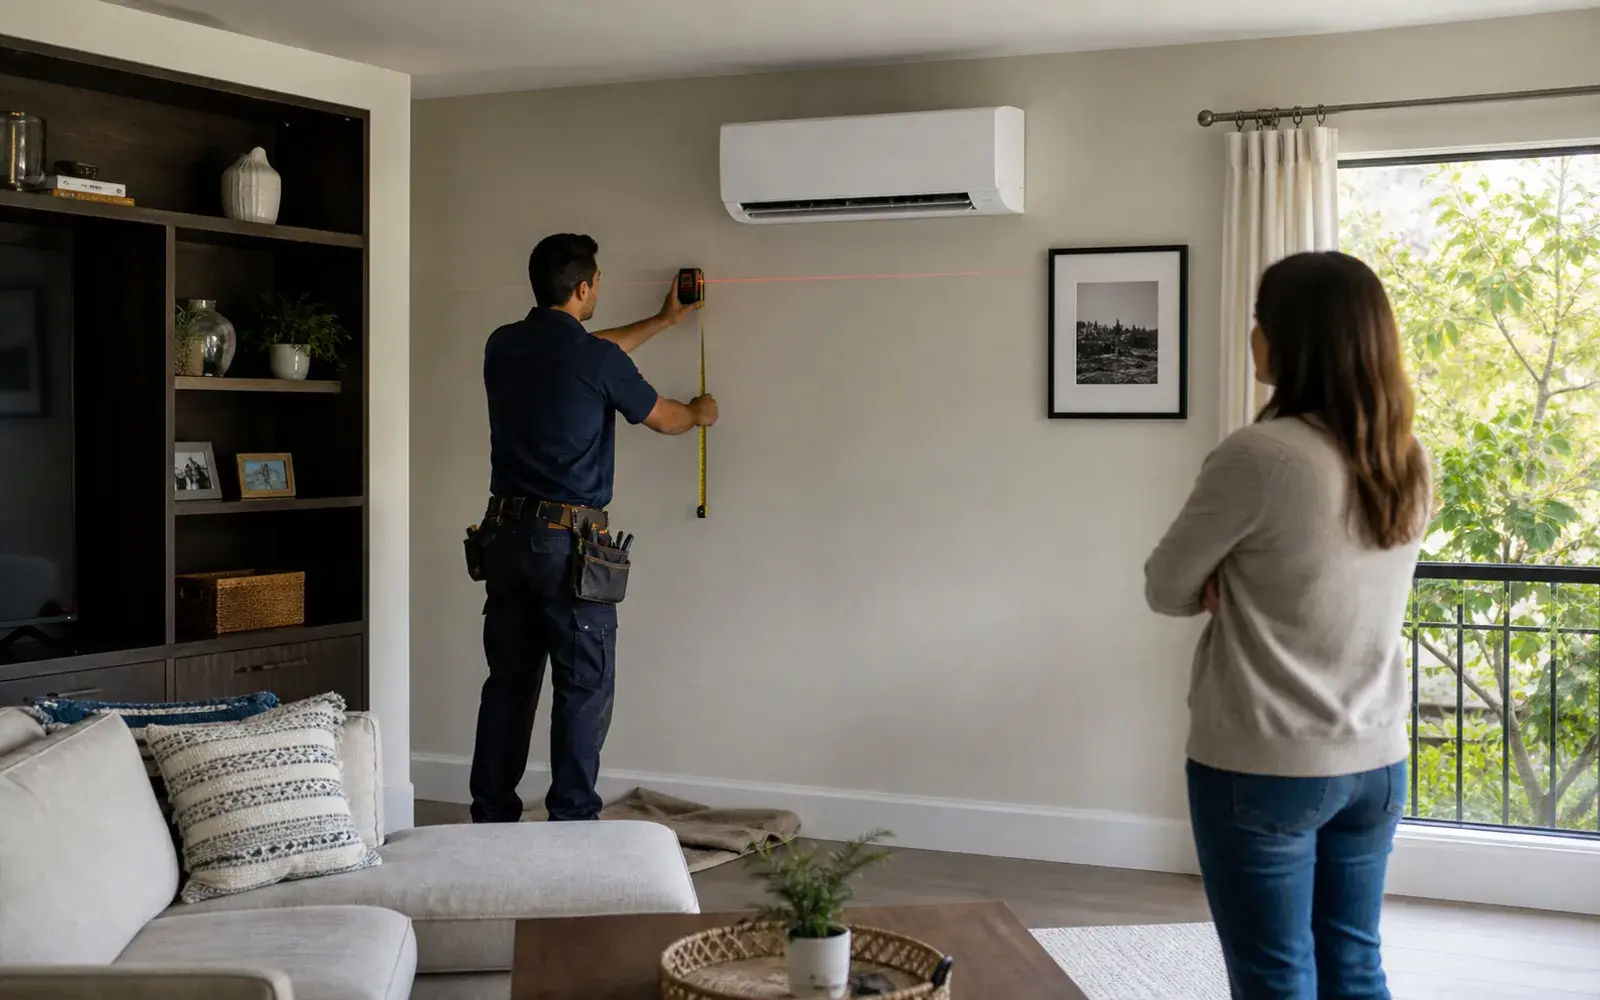
Good mini split head placement lets the unit draw room air, discharge conditioned air into the occupied zone, drain condensate as designed and remain reachable for maintenance. It also gives the refrigerant line, control wiring and electrical work a practical route to the outdoor unit. Use the mini-split installation service page to request a room-specific assessment rather than selecting a wall from a photo alone.
Start with airflow, not decoration
The DOE ductless heat-pump checklist says the indoor-unit intake and discharge should be free of obstructions and installed with the manufacturer’s clearances. A unit above a shelf, behind a curtain or inside a tight alcove may look tidy while restricting the air path. Think about the direction of discharge in cooling and heating modes, where people sit and sleep, and whether a door or partition interrupts circulation.
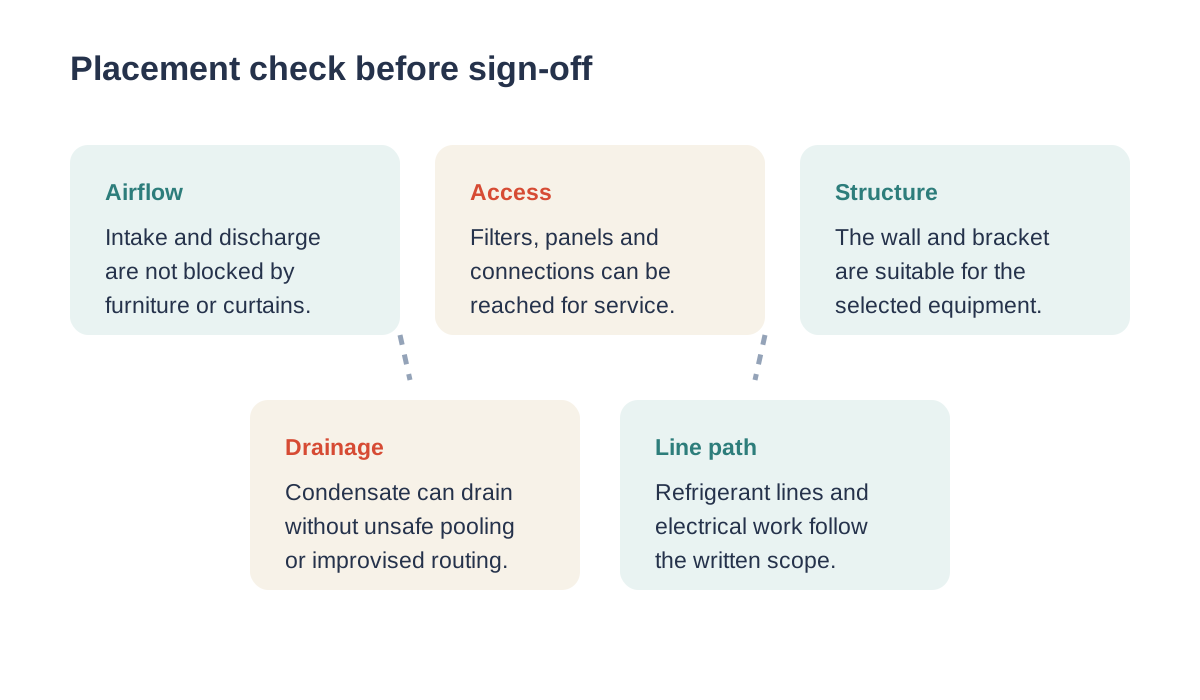
| Check | Why it matters | Question to ask |
|---|---|---|
| Air intake and discharge | Obstructions can reduce airflow or cause recirculation | What could block the air path after the room is furnished? |
| Mounting surface | The bracket and wall must support the selected equipment | Where are studs, blocking or approved anchors? |
| Line-set and wiring route | The shortest-looking route is not always serviceable or permitted | Where do refrigerant lines, controls and power run? |
| Condensate drainage | Poor drainage can create leaks or improvised routing | How will condensate drain under the actual operating conditions? |
| Service access | Filters, panels and connections need future access | Can a technician safely reach the unit without moving fixed items? |
Check the wall, ceiling and surrounding clearances
The selected wall should be flat enough for the mounting plate, strong enough for the bracket and free of hidden conflicts that make the line route unsafe. Avoid assuming that every wall-mounted head has the same top, side or front clearance. Daikin’s installation manual illustrates how an airflow obstacle or insufficient space can reduce air volume and cause the unit to take in its own discharge air; other models have different diagrams and dimensions.
Do not forget the line set, drain and electrical path
The most convenient indoor wall may create the longest or least serviceable route outside. Before finalizing it, review the outdoor-unit location, wall penetrations, refrigerant-line protection, condensate drainage, control wiring and electrical scope. A clean installation does not hide an unresolved drain or electrical question; it documents who is responsible and what the selected equipment requires.
Keep filters and service panels reachable
Mini-split maintenance is easier when the head is not trapped above a tall cabinet, tight stair, permanent shelf or fragile finish. Leave enough working room for filter removal, coil cleaning, panel access and safe ladder placement according to the model and room. The DOE checklist also treats indoor and outdoor access as part of a complete installation, not an optional convenience.
Placement in an ADU, bedroom or living room
For an ADU or addition, coordinate the head location with the wall framing, window schedule, furniture plan and line route before drywall is closed. In a bedroom, avoid a discharge path aimed directly at a sleeping position if the selected airflow pattern makes that uncomfortable. In a living room, do not let a future media cabinet or curtain plan block the unit. The ADU HVAC planning guide covers system selection, while ductless mini-split pros and cons and the mini-split installation cost guide add context.
Local GEO: placement still depends on the property
For homes in Ontario, Pomona, Diamond Bar, Walnut, Claremont, Rowland Heights, Chino, Chino Hills, Upland and other listed Inland Empire or East Los Angeles County communities, a local assessment can review the room and the exterior route together. Alex Air & Heating does not claim a Los Angeles city storefront; service availability and the final placement depend on the property and schedule.
The short answer: use the model manual and the room
The best mini-split head location is the one that keeps airflow open, the wall and route sound, condensate controlled and future service practical. Do not select it by a universal height or a stock photo. Have the installer mark the proposed location, identify the selected model’s clearances and put the line, drain, electrical and access assumptions in the written scope.
Frequently asked questions
Usually on a structurally suitable wall with a clear intake and discharge path, practical line-set and condensate routing, and enough access for filters and service. The best wall depends on the room, selected model, outdoor-unit location and manufacturer clearances—not a universal height rule.
Use the selected model’s installation manual and the installer’s layout, not a generic internet number. Ceiling height, airflow pattern, wall construction, service access and local requirements all affect the final location. A higher position is not automatically better if it makes service or drainage difficult.
Sometimes, but only if the unit’s airflow, mounting surface, clearances, line routing and service access still work. A door swing, curtain, header, window treatment or return path can make an otherwise convenient wall a poor choice. Review the actual wall and model before installation.
Keep the discharge path and service area clear. Furniture, shelves or curtains directly in front of the unit can disrupt airflow, collect condensate or make cleaning harder. The exact safe arrangement depends on the selected unit’s manual and the room layout.
Ask the installer to review the room load and airflow, wall structure, line-set and electrical path, condensate drainage, outdoor-unit connection, manufacturer clearances, access for maintenance and any applicable permit or code scope. Request that the final location be shown in the written proposal.
Local next step
Turn this guide into a site-specific answer.
Guides explain the decision. Equipment condition, access, and safe next steps still need to match the home or business. Review the relevant service scope or request an assessment for Ontario, the Inland Empire, or East Los Angeles County. Availability depends on the current schedule.